
Hello...
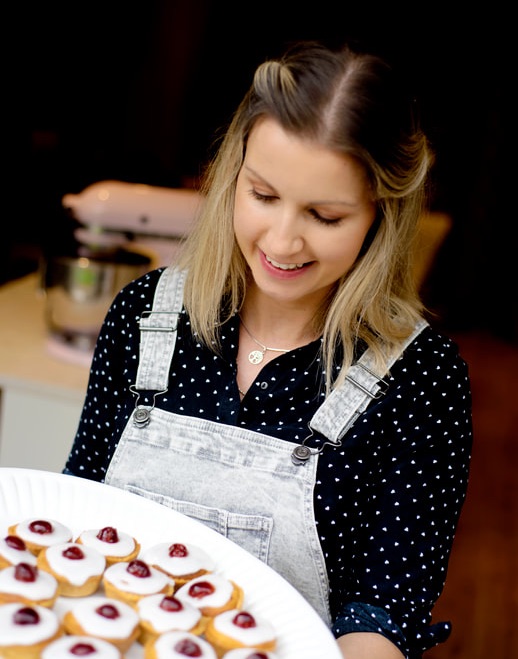
Hi! I’m Naomi, nicknamed Nibsy from a young age and live in Reading, with my husband and two young boys. The gluten-free 'journey' began back in 2009 when I was diagnosed as gluten-intolerant.
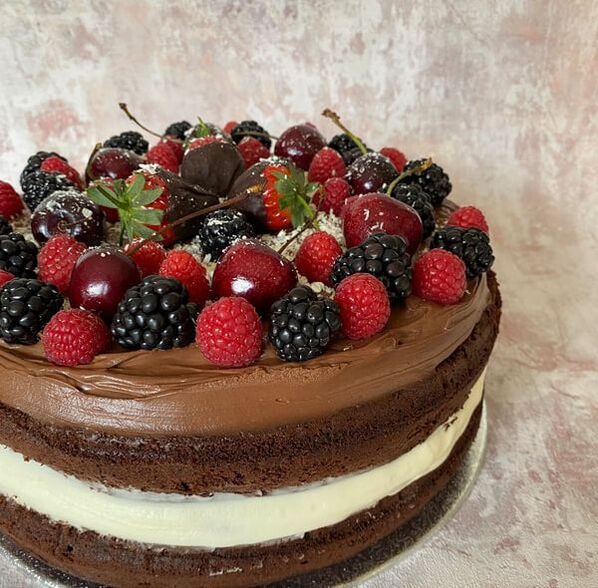
Having set up and run Reading's one and only gluten-free coffee shop back in 2014, which I ran for almost 7 years, I now bake freshly made gluten-free cakes and treats at home for local delivery or collection directly from me, here in West Reading.
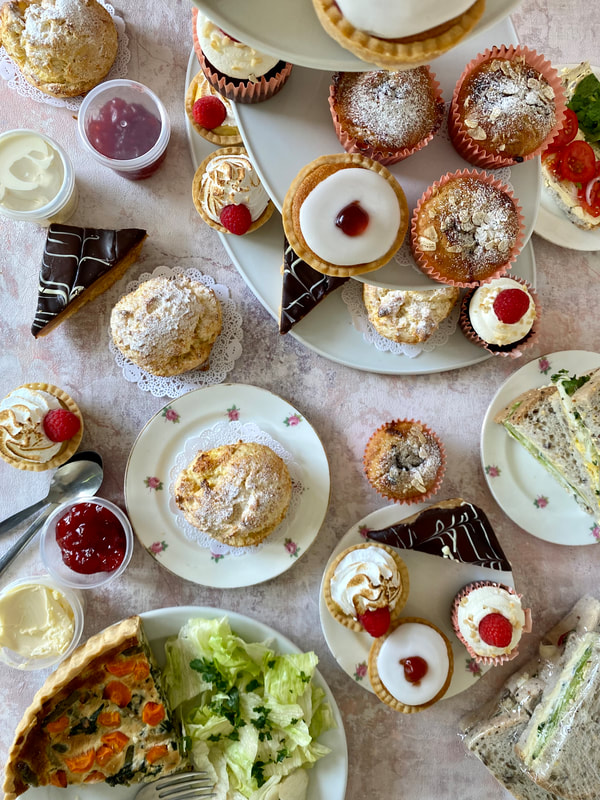
Not local to Reading? You can get your hands on the award-winning DIY donut kits, sent UK wide, as well as on my self-published recipe book. It includes some brilliant recipes, from fluffy scones to millionaire shortbread and recreate them at home. At the time of writing it, my youngest was watching Disney's Ratatouille on repeat. The message in the story: "Anyone can cook".
It inspired me, not only because it's true, but because when you take care and make things from the heart, food can be so much more rewarding and enjoyable.
Find all the information here on the various tabs and get in touch with me via email at [email protected] or the online form and I'll come back to you to let you know if I can help.
Love,
Naomi AKA Nibsy x
Having set up and run Reading's one and only gluten-free coffee shop back in 2014, which I ran for almost 7 years, I now bake freshly made gluten-free cakes and treats at home for local delivery or collection directly from me, here in West Reading.
Not local to Reading? You can get your hands on the award-winning DIY donut kits, sent UK wide, as well as on my self-published recipe book. It includes some brilliant recipes, from fluffy scones to millionaire shortbread and recreate them at home. At the time of writing it, my youngest was watching Disney's Ratatouille on repeat. The message in the story: "Anyone can cook".
It inspired me, not only because it's true, but because when you take care and make things from the heart, food can be so much more rewarding and enjoyable.
Find all the information here on the various tabs and get in touch with me via email at [email protected] or the online form and I'll come back to you to let you know if I can help.
Love,
Naomi AKA Nibsy x
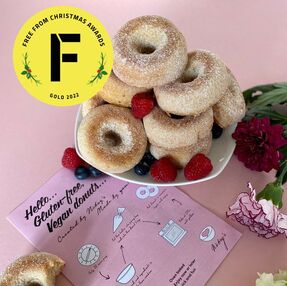
Some exciting news
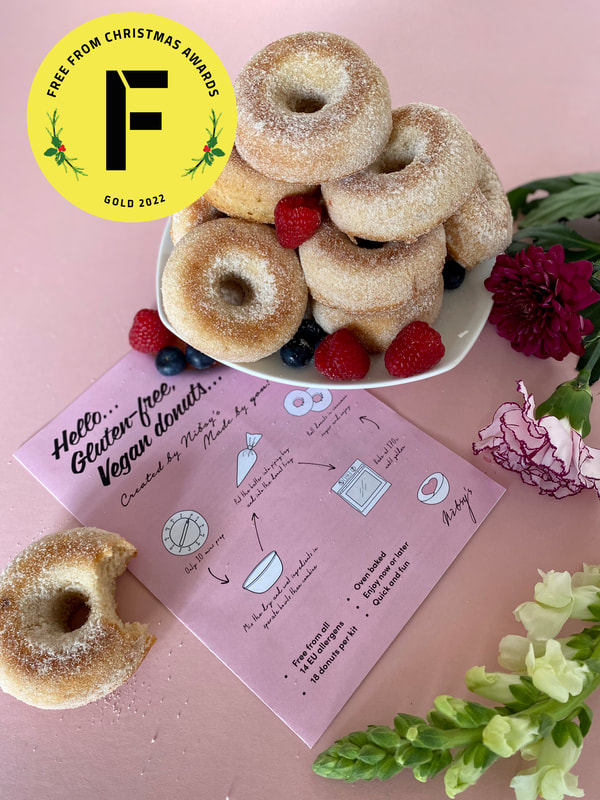
The DIY donut kits have won GOLD in the gifting category of the prestigious Free From Food Awards Christmas Awards 2022.
Check out their socials @FFFoodAwards or visit their website to see which other amazing brands (large and small) have been awarded for great taste, quality and innovation! We have entered again for 2023 and have been shortlisted - Results announced soon after 8th June!
Check out their socials @FFFoodAwards or visit their website to see which other amazing brands (large and small) have been awarded for great taste, quality and innovation! We have entered again for 2023 and have been shortlisted - Results announced soon after 8th June!
For social media links, see below.